Slay the Spire 2 enemies by type
Use the filters below when you need the exact slice of the Slay the Spire 2 enemies database that matters for the current route. Search by enemy name, narrow to monsters, elites, or bosses, then filter by act when you want to study one floor pool at a time. The goal is fast lookup first: find the enemy, refresh the move pattern, and move on with a cleaner plan.
20 / 115 enemies·82 monsters·14 elites·19 bosses
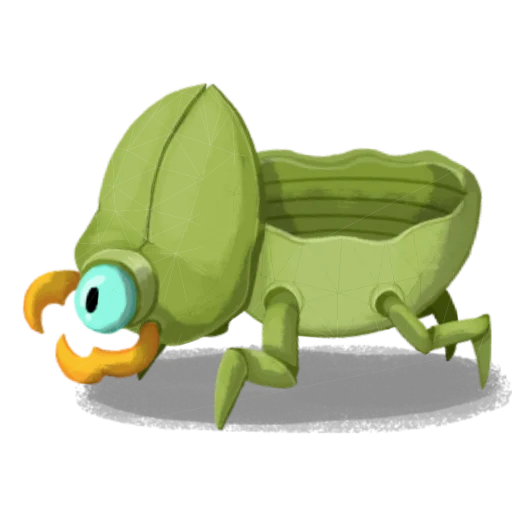
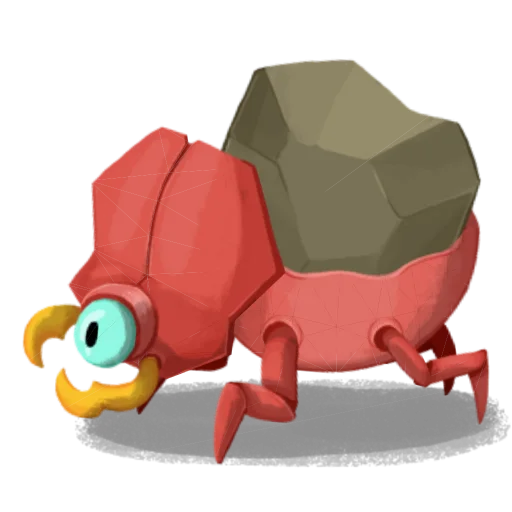
Axebot
Boot Up / One-Two 5 / Sharpen
- Moves
- 4
- Appearances
- 1 mapped encounter across The Glory
- Tags
- monster
Chooses randomly from One-Two, Sharpen, and Hammer Uppercut (allowed options equally likely). Cannot Sharpen twice in a row. Cannot use One-Two or Hammer Uppercut more than twice in a row.
Battle Friend V1.0
Nothing
- Moves
- 1
- Appearances
- 1 mapped encounter across event or special pools
- Tags
- monster, event-encounter
1 mapped encounters
Battle Friend V2.0
Nothing
- Moves
- 1
- Appearances
- 1 mapped encounter across event or special pools
- Tags
- monster, event-encounter
1 mapped encounters
Battle Friend V3.0
Nothing
- Moves
- 1
- Appearances
- 1 mapped encounter across event or special pools
- Tags
- monster, event-encounter
1 mapped encounters
- Moves
- 1
- Appearances
- 3 mapped encounters across The Hive
- Tags
- monster
Always uses Bite.
Bowlbug (Nectar)
Thrash 3 / Buff
- Moves
- 2
- Appearances
- 2 mapped encounters across The Hive
- Tags
- monster
Starts with Thrash -> Buff. Then uses Thrash every turn.
Bowlbug (Rock)
Headbutt 15 / Stunned / Dizzy
- Moves
- 3
- Appearances
- 3 mapped encounters across The Hive
- Tags
- monster
Uses Headbutt every turn. If fully blocked, becomes stunned for a turn before resuming Headbutt.

Bowlbug (Silk)
Thrash / Toxic Spit / Trash
- Moves
- 3
- Appearances
- 3 mapped encounters across The Hive
- Tags
- monster
Alternates between Toxic Spit and Thrash.
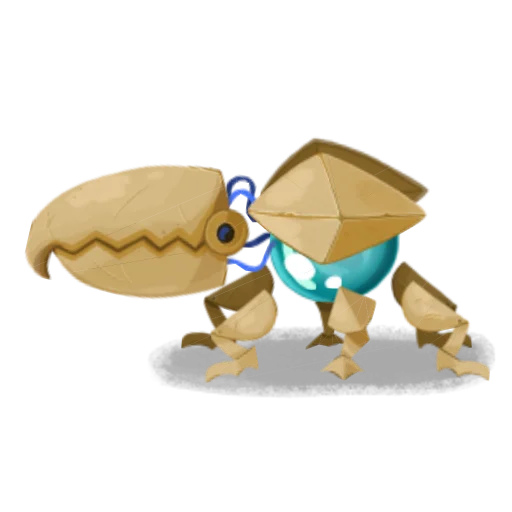
Bygone Effigy
Sleep / Wake / Slash
- Moves
- 5
- Appearances
- 1 mapped encounter across The Overgrowth
- Tags
- elite
Starts with Sleep -> Wake -> Slash. Then uses Slash every turn after.
Byrdonis
Peck 3 / Swoop 16
- Moves
- 2
- Appearances
- 1 mapped encounter across The Overgrowth
- Tags
- elite
Alternates between Swoop -> Peck.
- Moves
- 1
- Appearances
- Unmapped or summon-only enemy
- Tags
- monster, unmapped
0 mapped encounters
Calcified Cultist
Incantation / Dark Strike 9
- Moves
- 2
- Appearances
- 2 mapped encounters across The Underdocks
- Tags
- monster
Starts with Incantation. Then uses Dark Strike every turn after.

Ceremonial Beast
Stamp / Plow 18 / Beast Cry
- Moves
- 6
- Appearances
- 1 mapped encounter across The Overgrowth
- Tags
- boss
Starts with Stamp. Then uses Plow every turn until it is stunned.
- Moves
- 2
- Appearances
- 1 mapped encounter across The Hive
- Tags
- monster
First Chomper starts with Clamp, second with Screech. Then continue cycling through Clamp -> Screech.
Corpse Slug
Whip Slap 3 / Glomp 8 / Gloop
- Moves
- 4
- Appearances
- 2 mapped encounters across The Underdocks
- Tags
- monster
First Corpse Slug picks its first move randomly. Each subsequent Corpse Slug starts with the next move in the cycle. Cycle through Whip Slap -> Glomp -> Gloop
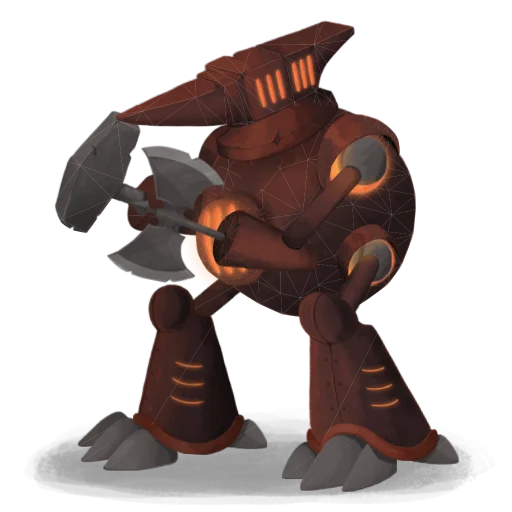
Crusher
Thrash 12 / Enlarging Strike 4 / Bug Sting 6
- Moves
- 5
- Appearances
- 1 mapped encounter across The Hive
- Tags
- boss
Cycles through Thrash -> Enlarging Strike -> Bug Sting -> Adapt -> Guarded Strike.
Monster
The Glory
The Overgrowth

Cubex Construct
Charge Up / Repeater Blast / Expel Blast 5
- Moves
- 6
- Appearances
- 2 mapped encounters across The Glory, The Overgrowth
- Tags
- monster, multi-act
Cycles through Charge Up -> Repeater Blast - > Repeater Blast -> Expel Blast -> Submerge.
Damp Cultist
Incantation / Dark Strike 1
- Moves
- 2
- Appearances
- 1 mapped encounter across The Underdocks
- Tags
- monster
Starts with Incantation. Then uses Dark Strike every turn after.
Decimillipede (3 segments)
Writhe 5 / Bulk 6 / Constrict 8
- Moves
- 5
- Appearances
- Unmapped or summon-only enemy
- Tags
- elite, unmapped
First segment starts with a random move, second segment starts with the next move in the cycle Writhe -> Bulk -> Constrict, and third segment starts with the next move after that.
Devoted Sculptor
Forbidden Incantation / Savage 12
- Moves
- 2
- Appearances
- 1 mapped encounter across The Glory
- Tags
- monster
Starts with Forbidden Incantation, then uses Savage every turn.
Loading more enemies…
How to use the Slay the Spire 2 enemies database
The best way to use the Slay the Spire 2 enemies database is to treat it as a run-planning tool, not as a trivia list. Before you take an elite path, open the relevant act filter and remind yourself what kind of pressure the elite pool creates. Before an act boss, click into the boss pages and look at the move summary so your deck building decisions stay grounded in the actual fight. The more specific your question is, the more valuable the database becomes. Ask “Can my deck handle a scaling elite?” or “Do I have enough burst for this boss transition?” and the enemy page immediately becomes actionable.
This is why the page is built around Slay the Spire 2 enemies as a keyword and as a concept. The database is not trying to replace encounter pages, event pages, or act overviews. It is trying to give one reliable enemy record per threat so you can move from a single name to a real combat plan quickly. That is also why the filters stay simple: search, type, act, and sort. Anything more would slow down the thing the page is meant to do.
Which Slay the Spire 2 enemies matter most in each Act?
In The Glory, the most important Slay the Spire 2 enemies are the ones that test whether your deck is actually allowed to take early elites. Soul Nexus, Test Subject, and Doormaker all punish vague plans in different ways. The Hive shifts the question toward board control and scaling pressure, which is why enemies like Ovicopter, Entomancer, and Knowledge Demon are so useful to review before you path greedily. The Overgrowth tends to reward players who understand momentum swings and how to recover from awkward turns, while The Underdocks makes sustained pressure and elite timing more important than a single flashy line.
Framing Slay the Spire 2 enemies by act keeps the database practical. Most players are not asking for a global “hardest enemy” ranking every time they open a wiki. They are asking what might kill this run right now. That is why the act labels and appearance notes sit near the top of every enemy card and every detail page. They help connect one enemy record to the actual routing decision you are about to make.
Slay the Spire 2 enemies FAQ
What is the Slay the Spire 2 enemies page for?
The Slay the Spire 2 enemies page is a fast reference hub for monsters, elites, and bosses. It helps you scan act placement, move summaries, and encounter role before you click into the individual enemy pages.
Does the Slay the Spire 2 enemies database cover elites and bosses too?
Yes. This Slay the Spire 2 enemies database is not limited to hallway monsters. It includes elite enemies and boss enemies so the page stays useful across route planning, act prep, and late-run fight review.
How should I use the Slay the Spire 2 enemies database during a run?
Use the Slay the Spire 2 enemies database when you need a quick pattern reminder. Search by enemy name, filter by act or type, and click through to a detail page when you need more context on pressure turns, setup windows, and threat profile.
Why focus one page on Slay the Spire 2 enemies instead of encounters too?
Because the enemy page answers a different question. Encounters tell you the room lineup, while a Slay the Spire 2 enemies page tells you what one specific enemy does, where it appears, and why its move pattern matters.
Related Slay the Spire 2 pages
Once you finish with the Slay the Spire 2 enemies page, the next useful jump is usually into the pages that help you answer why your deck can or cannot handle those fights. Cards explain your tools, relics explain your run shaping bonuses, and guides explain how to route or draft around the fights you are expecting.